Smartphone Camera Secrets: How to Capture Pro-Level Photos on the Go
Unlock pro-level photos on your phone by mastering light, composition, focus, and quick edits—so you can shoot stunning images anywhere, anytime.
Nail Focus and Exposure: Your smartphone camera's power starts with deliberate control of focus and exposure. Tap to focus on the most important subject, then drag the exposure slider to prevent blown highlights or muddy shadows. Lock settings with AE/AF Lock so the camera doesn't change its mind when you reframe. In bright scenes, slightly underexpose to protect detail in skies and reflective surfaces; you can lift shadows later. Use HDR for high-contrast landscapes or interiors with windows, but disable it for fast action to avoid artifacts. Point the focus area at a face for accurate skin tones, and reposition your subject toward soft, even light whenever possible. Clean the lens to avoid haze, then watch the live preview for clipping and glare. Small adjustments made before pressing the shutter save big headaches in editing, transforming casual snaps into crisp, balanced photos that look intentional and polished.
Compose with Intent: Strong composition turns everyday moments into striking images. Enable gridlines and use the rule of thirds to place subjects where the eye naturally travels. Seek leading lines—paths, railings, horizons—that guide viewers into the frame, and build depth by layering foreground, midground, and background. Leave negative space to let subjects breathe, or play with symmetry and reflections for bold, graphic impact. Mind the horizon; a quick straighten later is fine, but a level capture looks cleaner. Change your perspective: crouch low for drama, shoot from above for context, or step closer to simplify. Frame with doorways, foliage, or architectural cutouts to create a natural vignette. Watch edges and corners to avoid distracting cutoffs. Every deliberate choice—placement, spacing, and angle—reduces clutter and amplifies clarity, helping your smartphone shots feel composed rather than coincidental.
Master Light, Don't Chase It: Light defines shape, color, and mood, so learn to read its quality, direction, and color temperature. Soft, diffused light from open shade or a window wraps gently around faces, while harsh midday sun casts deep shadows and emphasizes texture. Turn your subject toward the brightest clean light, or use backlight for a glowing rim and let the rest fall to silhouette with a slight exposure pull. A white napkin, notebook, or shirt can act as a quick reflector; a hat or hand can flag stray glare. Avoid small, direct on-camera flash unless you need close-range fill; if you must use it, step closer and balance exposure for the ambient scene. Adjust white balance for accurate skin and product tones, or plan to fix it in editing. By shaping and simplifying the light—rather than overpowering it—you'll capture detail, depth, and believable color that feels cinematic instead of clinical.
Stabilize and Control Motion: Sharp images start with stability. Hold the phone with both hands, tuck elbows in, and brace against a wall, table, or your knee. Use the timer or remote shutter via volume buttons or connected accessories to eliminate tap-induced shake. For action, fire burst mode and select the cleanest frame later. To convey speed, try a pan: track the moving subject smoothly and press the shutter mid-sweep, keeping the subject sharp while the background blurs. In low light, enable night mode or computational long exposure and keep absolutely still; rest the device on a stable surface or use an improvised stand. For creative blurs—waterfalls, traffic, or fountains—use long-exposure modes and ensure the phone is rock steady. Tiny sensors reward good technique; every bit of steadiness and timing reduces noise, preserves detail, and keeps your photos looking crisp rather than smeared.
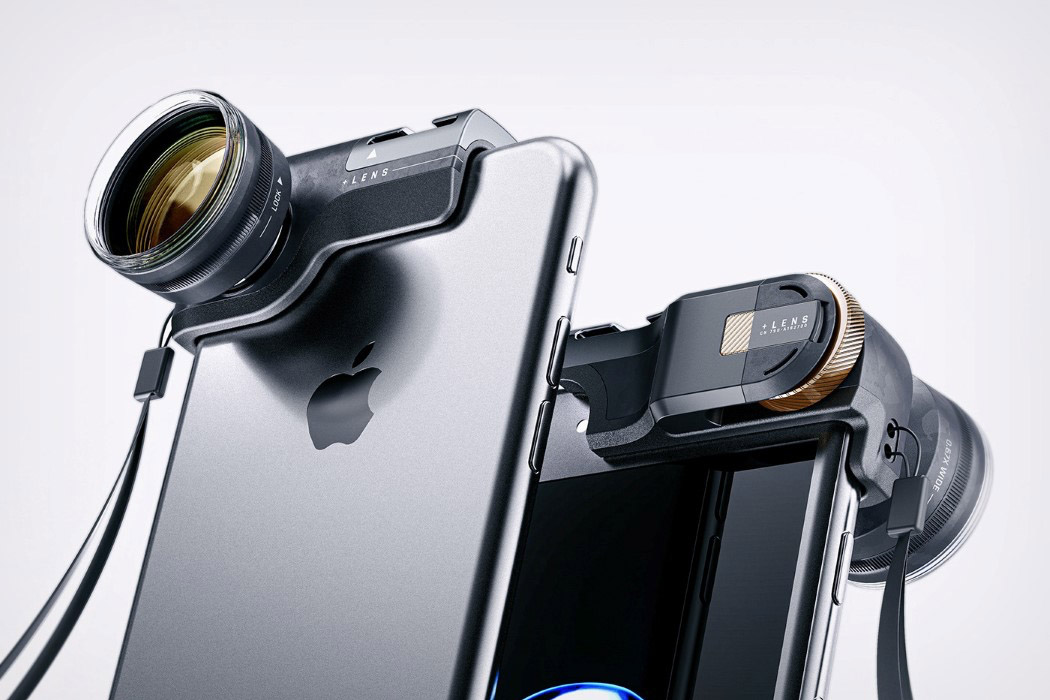
Choose the Right Lens and Settings: Modern phones offer multiple lenses and powerful software. The main wide camera usually has the largest sensor and best detail; use it when quality matters. Reach for telephoto to tighten a portrait without distortion, and avoid digital zoom—step closer or crop later. The ultra-wide expands perspective and emphasizes leading lines; keep key subjects away from corners to minimize stretch. Explore macro mode for textures, food, or jewelry, minding minimum focus distance for edge-to-edge sharpness. In Portrait mode, look for clean separation and simple backgrounds; strong computational bokeh works best with clear subject edges. If available, switch to Pro/Manual: set ISO low for cleaner files, choose a shutter speed that fits your subject's motion, and lock white balance for consistent skin tones. Capture RAW for maximum editing latitude, and pick an aspect ratio that complements your subject and platform without sacrificing essential edges.
Edit with a Light Touch: Thoughtful editing elevates your images without shouting. Start with crop and straighten to refine composition and level horizons. Adjust exposure, contrast, highlights, and shadows to balance depth and preserve detail, then fine-tune white balance for natural color. Use curves and selective adjustments to guide attention, brightening faces and subtly darkening distractions. Apply clarity and texture sparingly to avoid crunchy artifacts, and balance noise reduction with sharpening so edges stay crisp without plastic skin or halos. Nudge vibrance before saturation for richer color that still feels real. Treat presets as starting points, not finish lines, and keep changes non-destructive so you can revisit them. Export at high resolution, maintain your aspect ratio, and back up your favorites. A consistent, restrained edit lets your composition and light do the talking—and makes your smartphone photos look unmistakably professional.